Yolov8目标检测——在Android上部署Yolov8 tflite模型
1. 简介
YOLOv8 是一种用于目标检测的深度学习模型,它是 YOLO(You Only Look Once)系列的最新版本之一。YOLO 系列因其高效和准确性而在计算机视觉领域非常受欢迎,特别是在需要实时目标检测的应用中,如视频监控、自动驾驶汽车、机器人视觉等。
以下是 YOLOv8 的一些关键特点:
- 实时性能:YOLOv8 旨在提供实时目标检测,即使在资源受限的设备上也能快速运行。
- 准确性:YOLOv8 在多个标准数据集上展示了其准确性,能够检测图像中的多种对象。
- 单阶段检测器:与多阶段检测器相比,YOLOv8 采用单阶段检测方法,这意味着它在网络的前向传播过程中只需一次即可完成检测任务。
- 端到端对象识别:YOLOv8 能够同时预测边界框、对象类别和每个框的置信度。
- 泛化能力:YOLOv8 在不同大小和形状的对象上都表现出良好的泛化能力。
- 易于部署:YOLOv8 支持转换为不同的格式,如 TensorFlow Lite,使得它可以轻松部署在移动设备和嵌入式系统中。
- 自定义训练:YOLOv8 允许用户使用自己的数据集进行自定义训练,以适应特定的检测任务。
2.模型转换
2.1 tflite模型
TensorFlow Lite (tflite) 是一种用于移动和嵌入式设备上的机器学习模型的格式。它允许开发者将训练好的 TensorFlow 模型转换为一个更小、更快、更高效的格式,以便于在资源受限的环境中运行,比如智能手机和微控制器。
- 模型优化:TensorFlow Lite 支持将模型量化,以减少模型的大小和提高运行效率。
- 跨平台:tflite 模型可以在多种设备上运行,包括 Android、iOS 和一些嵌入式设备。
- 实时性能:由于模型体积小,加载快,非常适合需要实时响应的应用,如图像识别、语音识别等。
- 转换过程:TensorFlow 提供了工具来将 TensorFlow 模型(例如 SavedModel 或 HDF5)转换为 tflite 格式。
- 硬件加速:tflite 支持一些硬件加速器,如 GPU、Edge TPU,可以进一步提高运行速度。
- 使用 TensorFlow Lite Interpreter:在应用中,通常使用 TensorFlow Lite Interpreter 来加载和运行 tflite 模型。
- 兼容性:tflite 模型与 TensorFlow.js 类似,但专为不同的运行环境设计。tflite 适用于移动和嵌入式设备,而 TensorFlow.js 适用于浏览器和 Node.js 环境。
- 部署:在 Android 或 iOS 应用中,tflite 模型可以作为资源文件被打包和部署。
- 更新和维护:tflite 模型可以像其他资源一样被更新,无需重新构建整个应用。
2.2 Pytorch 格式转换为 tflite 格式
YOLOv8 是以 pytorch 格式构建的。将其转换为 tflite,以便在 Android 上使用。
安装 Ultralytics 框架
使用 pip 安装 Ultralytics 框架,该框架包含了 YOLOv8:
conda create -n yolov8 python=3.8 activate ylolv8 pip install ultralytics 转换模型为 tflite 格式
使用 Ultralytics 框架提供的 YOLO 类来加载 PyTorch 格式的 YOLOv8 模型,并导出为 tflite 格式:
from ultralytics import YOLO model = YOLO('yolov8s.pt') # 这里 'yolov8s.pt' 是模型权重文件 model.export(format="tflite") 这将生成一个 tflite 文件,例如 yolov8s_saved_model/yolov8s_float16.tflite。
处理转换过程中的错误
如果在转换过程中遇到错误,特别是与 TensorFlow 版本相关的问题,需要安装一个特定版本的 TensorFlow 来解决兼容性问题:
pip install tensorflow==2.13.0 3.创建项目
3.1 创建项目
创建一个安卓项目,语言选择Kotlin,如下图所示: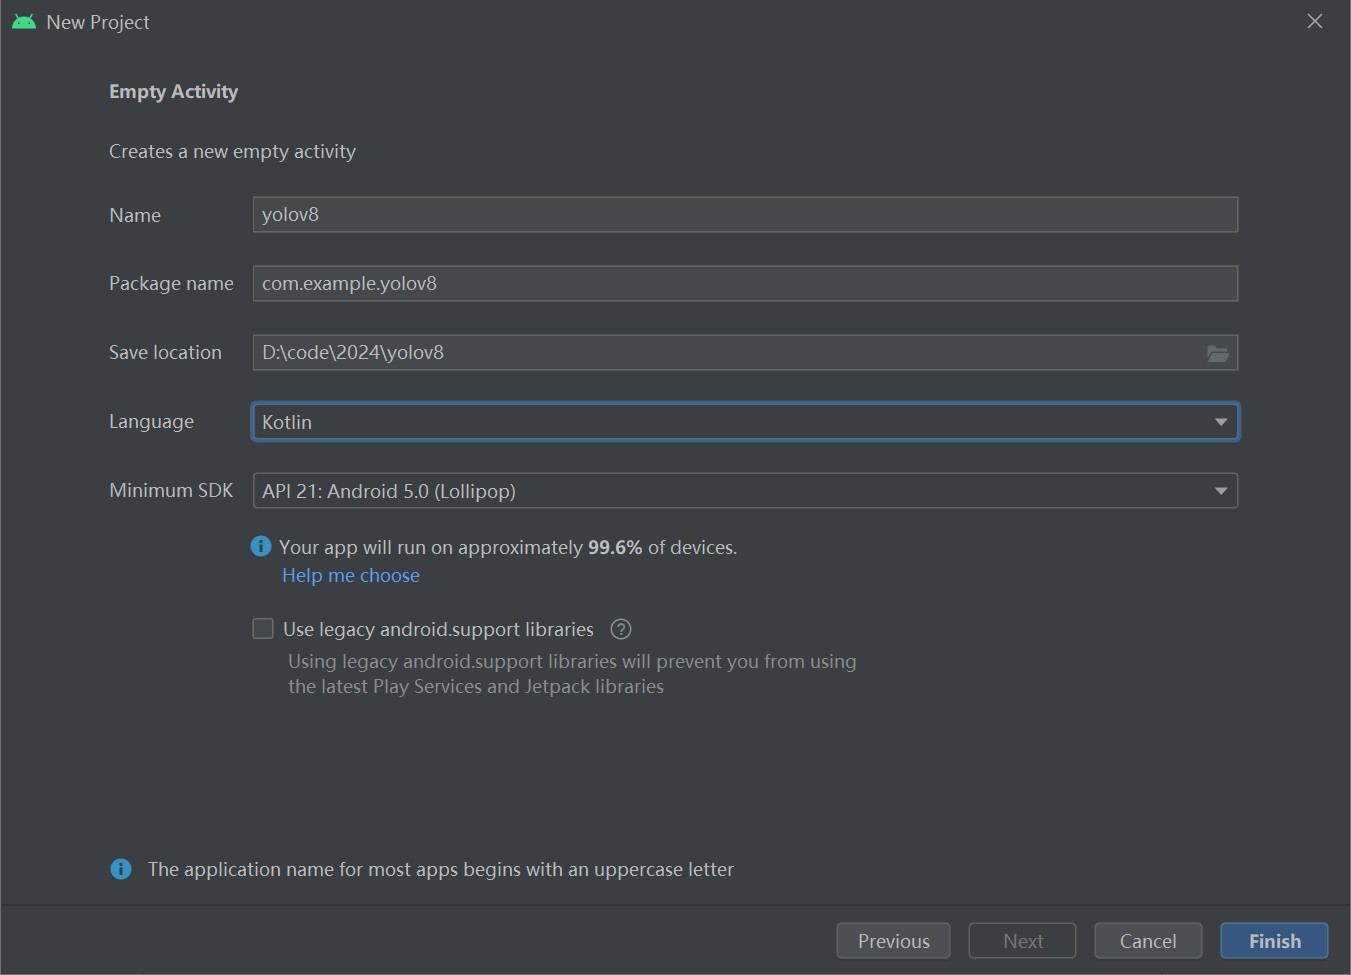
然后在 Android Studio 项目的 app 目录中创建一个 assets 目录(文件 → 新建 → 文件夹 → 资产文件夹),并将 tflite 文件(例如 yolov8s_float32.tflite)和 labels.txt 添加进去。labels.txt其中描述了 YOLOv8 模型的类别名称。
- 打开 Android Studio 项目。
- 在项目浏览器中,定位到
app目录。 - 右键点击
app目录,选择New>Folder>Asset Folder。 - 输入文件夹名称
assets并确认创建。 - 打开新创建的
assets文件夹。 - 通过复制和粘贴的方式,将
yolov8s_float32.tflite文件和labels.txt文件添加到此文件夹中。
3.2 添加依赖
将以下内容添加到 app/build.gradle.kts 中的依赖项以安装 tflite 框架。
implementation("org.tensorflow:tensorflow-lite:2.14.0") implementation("org.tensorflow:tensorflow-lite-support:0.4.4") 导入所需的模块
import org.tensorflow.lite.DataType import org.tensorflow.lite.Interpreter import org.tensorflow.lite.gpu.CompatibilityList import org.tensorflow.lite.gpu.GpuDelegate import org.tensorflow.lite.support.common.FileUtil import org.tensorflow.lite.support.common.ops.CastOp import org.tensorflow.lite.support.common.ops.NormalizeOp import org.tensorflow.lite.support.image.ImageProcessor import org.tensorflow.lite.support.image.TensorImage import org.tensorflow.lite.support.tensorbuffer.TensorBuffer import java.io.BufferedReader import java.io.IOException import java.io.InputStream import java.io.InputStreamReader 3.3 初始化模型
private val modelPath = "yolov8s_float32.tflite" private val labelPath = "labels.txt" private var interpreter: Interpreter? = null private var tensorWidth = 0 private var tensorHeight = 0 private var numChannel = 0 private var numElements = 0 private var labels = mutableListOf() private val imageProcessor = ImageProcessor.Builder() .add(NormalizeOp(INPUT_MEAN, INPUT_STANDARD_DEVIATION)) .add(CastOp(INPUT_IMAGE_TYPE)) .build() // preprocess input companion object { private const val INPUT_MEAN = 0f private const val INPUT_STANDARD_DEVIATION = 255f private val INPUT_IMAGE_TYPE = DataType.FLOAT32 private val OUTPUT_IMAGE_TYPE = DataType.FLOAT32 private const val CONFIDENCE_THRESHOLD = 0.3F private const val IOU_THRESHOLD = 0.5F } 初始化 tflite 模型。获取模型文件并将其传递给 tflite 的 Interpreter。选择推理使用的线程数。
val model = FileUtil.loadMappedFile(context, modelPath) val options = Interpreter.Options() options.numThreads = 4 interpreter = Interpreter(model, options) 从 Interpreter 获取 yolov8s 输入和输层:
val inputShape = interpreter.getInputTensor(0).shape() val outputShape = interpreter.getOutputTensor(0).shape() tensorWidth = inputShape[1] tensorHeight = inputShape[2] numChannel = outputShape[1] numElements = outputShape[2] 3.4 从 label.txt 文件中读取类名称
try { val inputStream: InputStream = context.assets.open(labelPath) val reader = BufferedReader(InputStreamReader(inputStream)) var line: String? = reader.readLine() while (line != null && line != "") { labels.add(line) line = reader.readLine() } reader.close() inputStream.close() } catch (e: IOException) { e.printStackTrace() } 3.5 对图像进行推理
在 Android 应用中,输入是位图(Bitmap),需要根据模型的输入格式进行预处理:
- 调整图片大小:将位图调整为模型所需的输入尺寸。YOLOv8 模型通常有固定的输入尺寸,例如 416x416 或 608x608。
- 转换为张量:将调整大小后的位图转换为一个多维数组(张量),这是模型可以处理的格式。
- 归一化像素值:将像素值从 0 到 255 归一化到 0 到 1 范围内。这通常通过将每个像素值除以 255 来实现。
- 转换为模型的输入类型:根据模型的需要,将张量转换为特定的数据类型(如 float 或 uint8)。
- 输入到 Interpreter:将预处理后的张量作为输入传递给 TensorFlow Lite Interpreter 进行推理。
import android.graphics.Bitmap; import android.graphics.ImageFormat; import org.tensorflow.lite.Interpreter; import java.nio.ByteBuffer; import java.nio.ByteOrder; import java.nio.channels.WritableByteChannel; // 假设 tflite 已经初始化,且 bitmap 是您要处理的位图 Bitmap bitmap val resizedBitmap = Bitmap.createScaledBitmap(bitmap, tensorWidth, tensorHeight, false) val tensorImage = TensorImage(DataType.FLOAT32) tensorImage.load(resizedBitmap) val processedImage = imageProcessor.process(tensorImage) val imageBuffer = processedImage.buffer 创建一个与模型输出层匹配的输出张量缓冲区,并将其与上面的输入 imageBuffer 一起传递给解释器以执行。
val output = TensorBuffer.createFixedSize(intArrayOf(1 , numChannel, numElements), OUTPUT_IMAGE_TYPE) interpreter.run(imageBuffer, output.buffer) 3.6 处理输出
输出框被视为 BoudingBox 类。这是一个具有类别、框和置信度级别的类。其中x1,y1 是起始点。x2, y2 是终点,cx, cy 是中心。w 宽度,h 是高度。
data class BoundingBox( val x1: Float, val y1: Float, val x2: Float, val y2: Float, val cx: Float, val cy: Float, val w: Float, val h: Float, val cnf: Float, val cls: Int, val clsName: String ) 提取置信度高于置信度阈值的框,在重叠的框中,留下置信度最高的框。(nms)
private fun bestBox(array: FloatArray) : List? { val boundingBoxes = mutableListOf() for (c in 0 until numElements) { var maxConf = -1.0f var maxIdx = -1 var j = 4 var arrayIdx = c + numElements * j while (j < numChannel){ if (array[arrayIdx] > maxConf) { maxConf = array[arrayIdx] maxIdx = j - 4 } j++ arrayIdx += numElements } if (maxConf > CONFIDENCE_THRESHOLD) { val clsName = labels[maxIdx] val cx = array[c] // 0 val cy = array[c + numElements] // 1 val w = array[c + numElements * 2] val h = array[c + numElements * 3] val x1 = cx - (w/2F) val y1 = cy - (h/2F) val x2 = cx + (w/2F) val y2 = cy + (h/2F) if (x1 < 0F || x1 > 1F) continue if (y1 < 0F || y1 > 1F) continue if (x2 < 0F || x2 > 1F) continue if (y2 < 0F || y2 > 1F) continue boundingBoxes.add( BoundingBox( x1 = x1, y1 = y1, x2 = x2, y2 = y2, cx = cx, cy = cy, w = w, h = h, cnf = maxConf, cls = maxIdx, clsName = clsName ) ) } } if (boundingBoxes.isEmpty()) return null return applyNMS(boundingBoxes) } private fun applyNMS(boxes: List) : MutableList { val sortedBoxes = boxes.sortedByDescending { it.cnf }.toMutableList() val selectedBoxes = mutableListOf() while(sortedBoxes.isNotEmpty()) { val first = sortedBoxes.first() selectedBoxes.add(first) sortedBoxes.remove(first) val iterator = sortedBoxes.iterator() while (iterator.hasNext()) { val nextBox = iterator.next() val iou = calculateIoU(first, nextBox) if (iou >= IOU_THRESHOLD) { iterator.remove() } } } return selectedBoxes } private fun calculateIoU(box1: BoundingBox, box2: BoundingBox): Float { val x1 = maxOf(box1.x1, box2.x1) val y1 = maxOf(box1.y1, box2.y1) val x2 = minOf(box1.x2, box2.x2) val y2 = minOf(box1.y2, box2.y2) val intersectionArea = maxOf(0F, x2 - x1) * maxOf(0F, y2 - y1) val box1Area = box1.w * box1.h val box2Area = box2.w * box2.h return intersectionArea / (box1Area + box2Area - intersectionArea) } 将获得 yolov8 的输出。
val bestBoxes = bestBox(output.floatArray) 将输出框绘制到图像上
fun drawBoundingBoxes(bitmap: Bitmap, boxes: List): Bitmap { val mutableBitmap = bitmap.copy(Bitmap.Config.ARGB_8888, true) val canvas = Canvas(mutableBitmap) val paint = Paint().apply { color = Color.RED style = Paint.Style.STROKE strokeWidth = 8f } val textPaint = Paint().apply { color = Color.WHITE textSize = 40f typeface = Typeface.DEFAULT_BOLD } for (box in boxes) { val rect = RectF( box.x1 * mutableBitmap.width, box.y1 * mutableBitmap.height, box.x2 * mutableBitmap.width, box.y2 * mutableBitmap.height ) canvas.drawRect(rect, paint) canvas.drawText(box.clsName, rect.left, rect.bottom, textPaint) } return mutableBitmap } 运行结果: